Porcelain Tile Installation Tips for Professionals
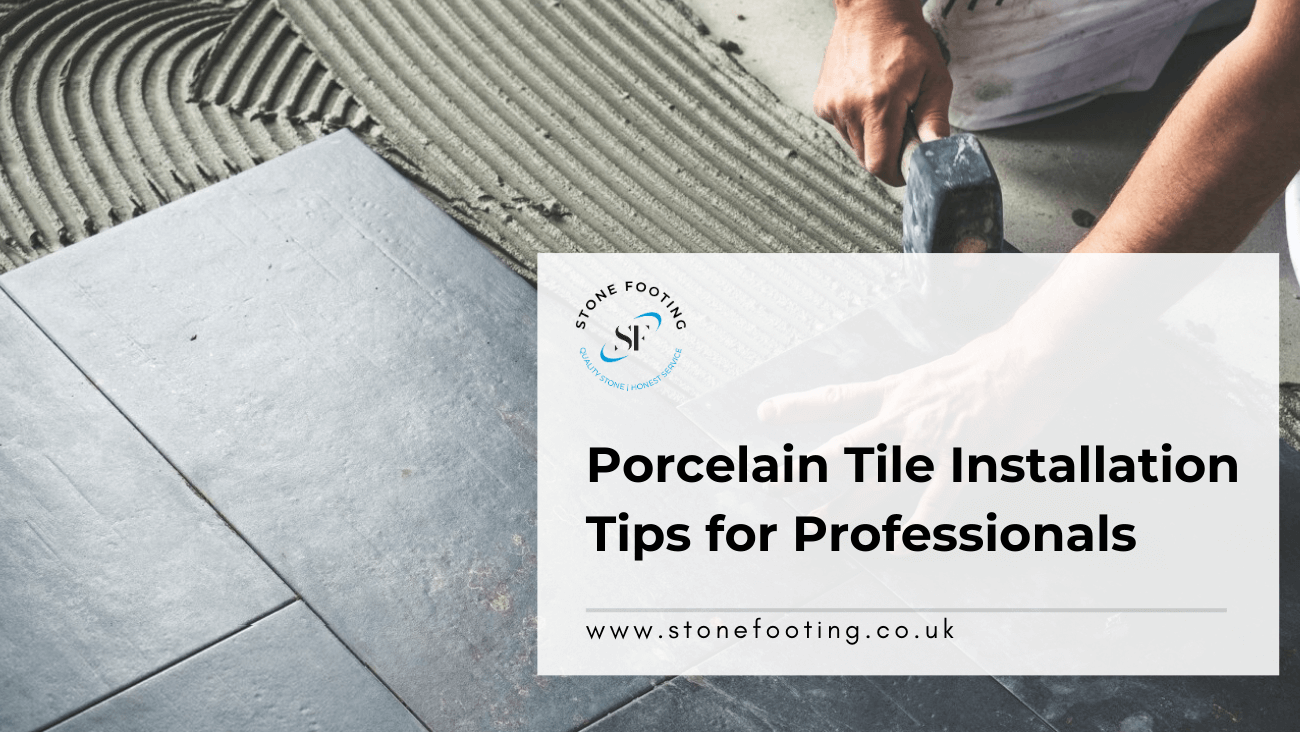
When it comes to the world of construction and design, the installation of porcelain tiles is an art form that demands both precision and creativity. As a seasoned professional, you understand the pivotal role that porcelain tiles play in elevating the aesthetics and functionality of various spaces, from commercial projects to residential remodels. Achieving a flawless porcelain tile installation is not just a skill; it’s a testament to your dedication to excellence.
In this comprehensive guide, we’ll delve deep into the world of porcelain tile installation, offering you invaluable tips and insights to not only meet but exceed the expectations of your clients and projects. Whether you’re working on large-scale commercial endeavors, transforming outdoor spaces with elegant patios, or crafting interior designs that seamlessly blend beauty and durability, this guide is your essential companion.
The Foundation: Proper Surface Preparation
A successful porcelain tile installation begins with a rock-solid foundation. It’s the canvas upon which your artistic vision will come to life. Before you even think about laying the tiles, meticulous surface preparation is imperative. Here’s what it entails:
- Surface Cleanliness: Ensure the substrate is pristine. Remove any dust, debris, or contaminants that could compromise the bond between the adhesive and the tile.
- Level Surface: Use leveling compounds to correct any unevenness in the substrate. A level surface is key to avoiding lippage and achieving a professional finish.
- Moisture Control: Depending on the project’s location and conditions, consider moisture barriers or waterproofing to protect against water damage.
Proper surface preparation not only ensures the longevity of the installation but also minimizes the risk of future issues that can be both costly and time-consuming to resolve.
Choosing the Right Adhesive
Selecting the appropriate adhesive is a pivotal decision in porcelain tile installation. Here’s what you need to consider:
- Tile Size: Larger tiles may require a different adhesive compared to smaller ones. The adhesive must provide adequate support to prevent sagging or shifting during installation.
- Substrate Compatibility: Different substrates, such as concrete, plywood, or cement backer board, may necessitate different types of adhesive. Ensure compatibility for a secure bond.
- Application Area: Consider the environment in which the tiles will be installed. For areas exposed to water or extreme temperature fluctuations, opt for adhesives designed for such conditions.
Always adhere to manufacturer recommendations and industry best practices when selecting and applying adhesive. It’s a fundamental step in ensuring the longevity and reliability of your tile installation.
Mindful Tile Layout
Creating an impeccable tile layout is where your artistic flair comes into play. Here’s how to approach it:
- Tile Size and Pattern: Choose the tile size and pattern that best suits the project’s aesthetic goals. Consider whether you want a traditional grid pattern, a herringbone layout, or something more creative.
- Focal Points: Identify focal points within the space, such as feature walls or central areas, and plan your tile layout accordingly to enhance their visual impact.
- Dry Lay: Before applying adhesive, dry lay the tiles to visualize the layout. This step allows you to make adjustments, ensure proper alignment, and create a design that flows seamlessly.
Precision in Cutting
In most projects, you’ll encounter areas that require cut tiles to fit. Here’s how to ensure precise cuts:
- Quality Tools: Invest in high-quality tile-cutting tools, including tile cutters, nippers, and saws. Sharp and accurate tools make all the difference in achieving clean cuts.
- Precise Measurements: Measure and mark tiles accurately before cutting. Even minor discrepancies can lead to visible imperfections in the finished installation.
- Safety First: Take proper safety precautions when cutting tiles, including wearing appropriate safety gear and working in a well-ventilated area.
Accurate cuts contribute significantly to a seamless finish and reduce the need for excessive grout, resulting in a more polished look.
Grouting: Attention to Detail
Grout is a critical element in both the appearance and durability of the installation. Pay close attention to these aspects:
- Grout Color: Select a grout color that complements the tiles. The right choice can enhance the overall aesthetic of the installation.
- Consistent Lines: Ensure that grout lines are consistent in width throughout the installation. The use of spacers or tile leveling systems can help maintain uniform gaps.
- Excess Grout Cleanup: During the grouting process, be diligent in cleaning excess grout from the tile surfaces. A sponge and clean water can help prevent grout haze from forming as the grout cures.
Quality Control and Inspection
Throughout the porcelain tile installation process, maintaining rigorous quality control is essential. Here’s how:
- Regular Inspections: Regularly inspect the work as it progresses. Look for any imperfections, misalignments, or issues that may require immediate attention.
- Alignment Checks: Use a straightedge or level to check for flatness and alignment of the tiles. Address any deviations promptly to maintain a professional finish.
- Grout Cure Inspection: After grouting, inspect the cured grout lines for consistency and cleanliness. Remove any haze or residue for a pristine appearance.
Quality control measures ensure that your final installation is impeccable and meets the highest standards.
The Finishing Touch: Sealing
Depending on the type of porcelain tile and grout used, sealing may be necessary to protect against stains and moisture. Here’s what you need to know:
- Porcelain Tile: Porcelain tiles with a polished finish typically do not require sealing due to their low porosity. However, unglazed porcelain or those with a textured finish may benefit from sealing to enhance stain resistance.
- Grout Sealing: Grout is more porous than porcelain tiles and is susceptible to staining. Consider applying a grout sealer to protect against discoloration.
Always follow the manufacturer’s guidelines regarding sealing, and use high-quality sealing products to ensure long-lasting protection.
Your Source for Premium Outdoor Porcelain Tiles
For top-quality outdoor porcelain tiles and expert guidance in the world of tiling, trust Stone Footing. As a leading natural stone wholesaler in the UK, we offer an extensive selection of outdoor porcelain tiles for various projects. While we specialize in providing premium natural stone products, please note that we do not offer installation services.
Mastering the art of porcelain tile installation requires a blend of technical skill and artistic finesse. By following these comprehensive tips and partnering with a reliable supplier like Stone Footing, you can ensure that your projects stand out for their beauty and durability. Elevate your craft, perfect your installations, and create spaces that inspire.
Ready to embark on your next outdoor porcelain tile project? Contact Stone Footing today and explore our range of top-quality outdoor porcelain tiles. Your journey to exceptional tile installations starts here.
Frequently Asked Questions
Q. How can I choose the right adhesive for porcelain tile installation?
Consider tile size, substrate, and application area. Use flexible thin-set mortar for larger tiles, ensure substrate compatibility, and choose adhesives for specific conditions.
Q. Do porcelain tiles require sealing?
Polished porcelain tiles typically don’t need sealing. Use a penetrating sealer for unglazed or textured tiles, and seal grout lines to prevent stains.
Q. How do I maintain porcelain tile installations?
Clean regularly with a pH-neutral cleaner, address spills promptly, reseal grout lines as needed, use doormats, and avoid dragging heavy objects to maintain the tiles’ appearance and longevity.

