How to Lay Paving Slabs: A Step-by-Step Guide by Stone Footing Ltd
Share
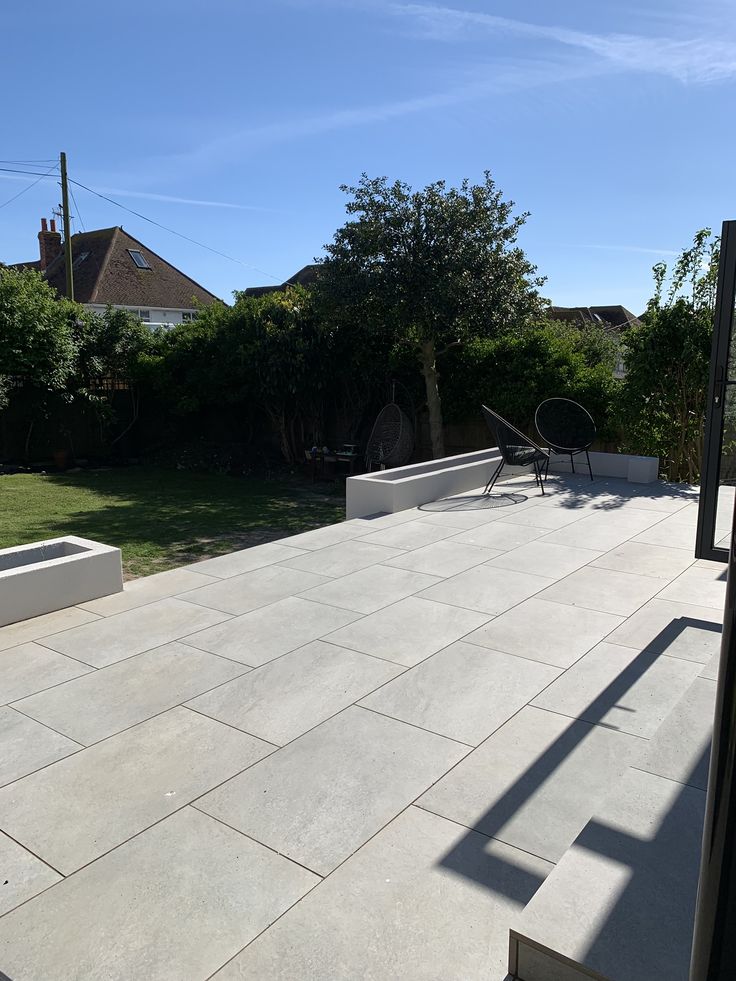
Laying paving slabs is one of the most effective ways to enhance your garden or patio space. Whether you're creating a new seating area, walkway, or decorative zone, proper installation is key to ensuring durability and visual appeal. At Stone Footing Ltd, we provide high-quality paving solutions and expert advice to help homeowners across the UK achieve stunning, long-lasting outdoor spaces.
Here’s our step-by-step guide on how to lay paving slabs professionally and efficiently.
Step 1: Plan and Measure
Start by measuring your outdoor area and sketching a layout for your paving slabs or paver slabs. Decide on the pattern, type of slab (porcelain, sandstone, limestone), and ensure you account for any drainage requirements.
Tip: Choose slabs that complement your existing garden design and are suitable for UK weather conditions.
Step 2: Prepare the Ground
Clear the area of grass, soil, and debris. Excavate the ground to a depth of around 150mm to allow space for the sub-base, mortar, and slab thickness.
-
Sub-base (100mm): Crushed stone or MOT Type 1 for stability
-
Mortar bed (30-40mm): Sand and cement mix
-
Slabs (20-25mm): Porcelain or natural stone paving
Compact the ground using a vibrating plate compactor to create a firm foundation.
Step 3: Lay the Sub-base
Fill the area with a sub-base material and compact it evenly. This base ensures your slabs for patios remain stable and avoid future sinking or shifting.
Step 4: Mix and Apply Mortar
Create a mortar mix of 4 parts sharp sand to 1 part cement. Spread the mortar bed evenly with a trowel, covering the area where each slab will be placed. Make sure it’s level but not too wet.
Step 5: Position the Slabs
Place the paving slabs firmly onto the mortar and tap gently with a rubber mallet to set them in place. Use a spirit level to ensure evenness across all slabs, and maintain consistent spacing using tile spacers or a measuring stick.
Step 6: Leave to Set
Allow the paving to set for 24–48 hours. Avoid stepping on the slabs during this period to ensure they bond properly to the mortar bed.
Step 7: Point the Joints
Once the slabs have set, fill the gaps between them with a suitable jointing compound or sand-cement mix. Brush the material into the joints and smooth it down with a pointing trowel for a clean finish.
Final Touches
Clean the surface with a damp cloth and rinse lightly. Avoid pressure washing for at least a few days to allow everything to settle.
Why Choose Stone Footing Ltd?
At Stone Footing Ltd, we offer a wide range of outdoor and garden paving products, including durable patio slabs, indian sandstone paving, and custom-size project packs. Whether you’re a first-time DIYer or a seasoned landscaper, our team is here to help with expert guidance and quality materials at competitive prices.